*RUJUK VERSI BAHASA MALAYSIA DI BAWAH*
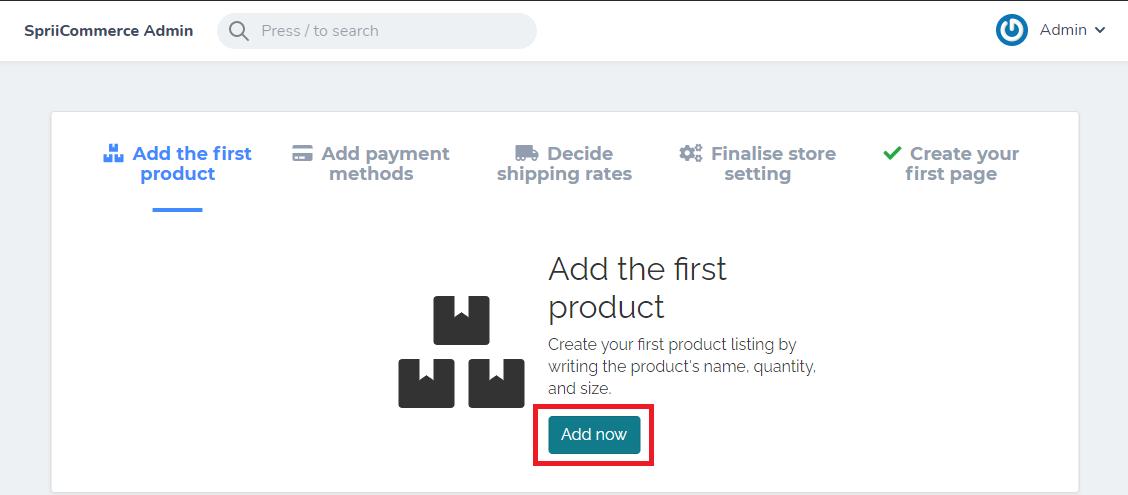
Step 1: Add your first product.
Note: Refer Products section for more details.
1. Click on the "Add Now" button.
 2. Fill up your product information such as product name, product price, product image, quantity, etc.
3. After finished fill up your product information, click on the "Create Product" button at the bottom of the page.
4. Then you've successfully added your first product..
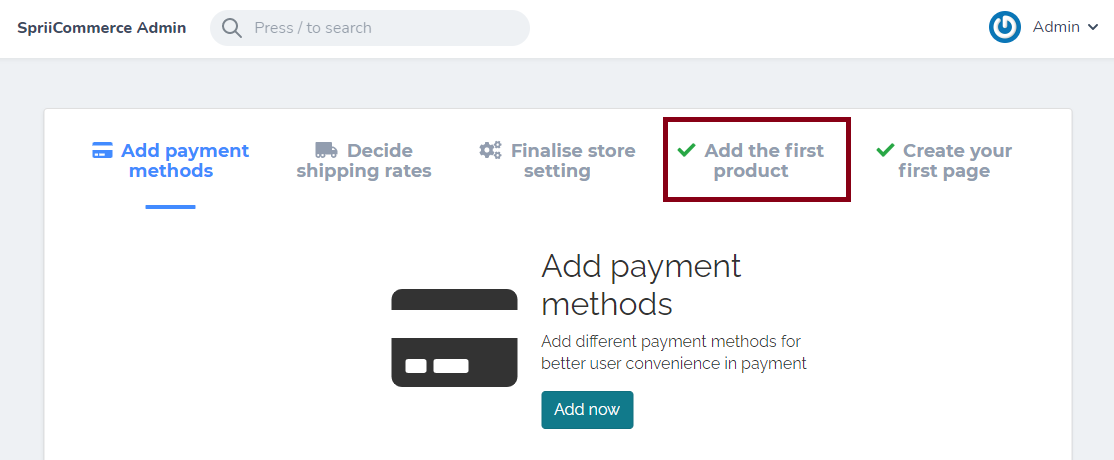
Step 2: Add a payment methods
1. Click on the "Add Now" button

2. You can see there are 2 payment methods that have been added by default.

3. Set the status to "Active". Click on the Edit icon > Enable to "Active" by tick on the checkbox > Save the changes by click on the "Update Payment Method" button.

Step 3: Add a shipping area & shipping methods
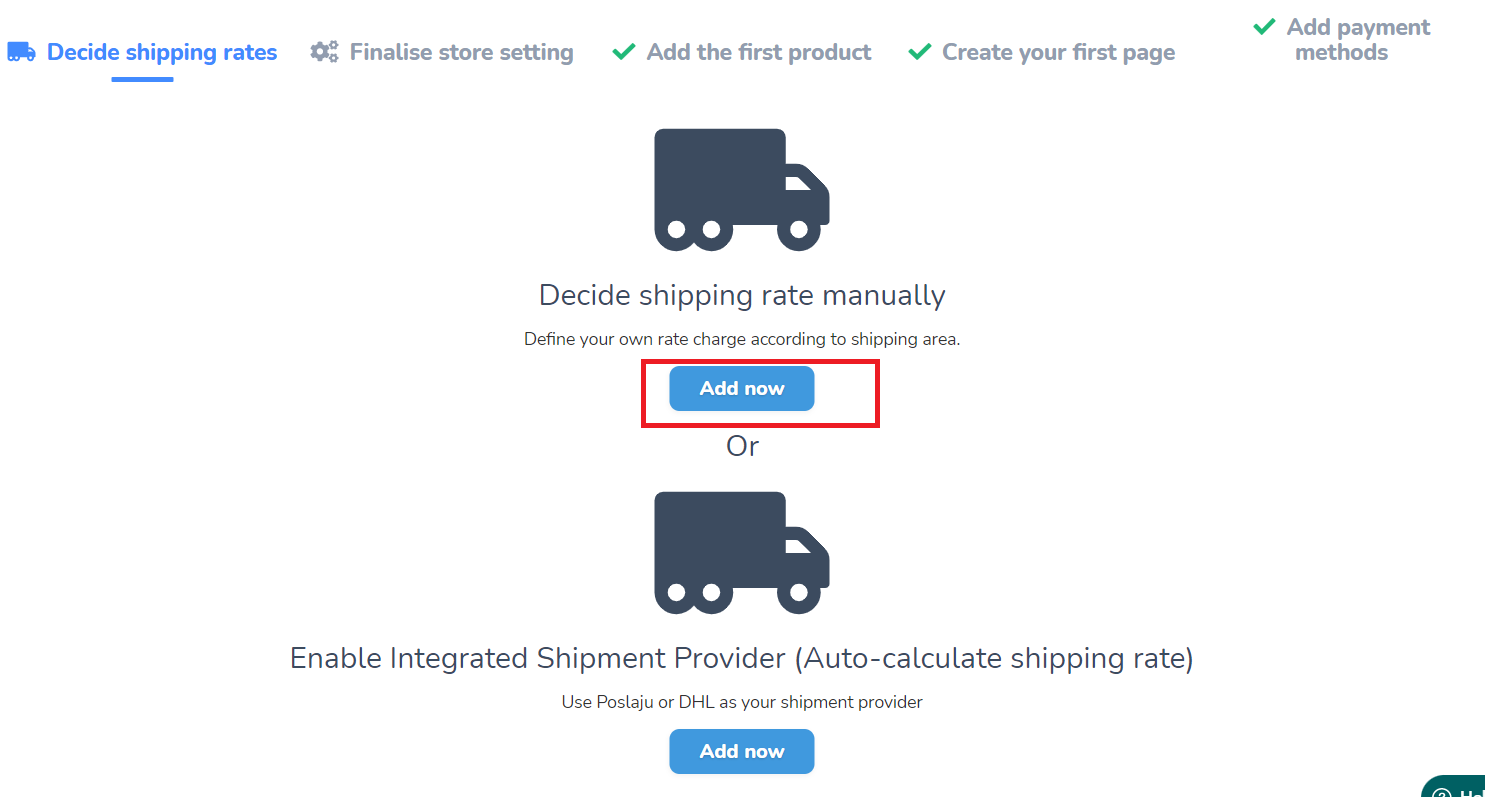
You are given two options to set up your shipping rate either it be manually or auto-calculate shipping rate. If you want to define your own rate charge according to the shipping areas, choose the 1st option which is Decide shipping rate manually. You will be directed to the Shipping Area page and can define your own shipping rate on that page. Meanwhile, if you want to enable integrated shipment provider for auto-calculate shipping rate then choose the 2nd option which is Enable Integrated Shipment Provider (Auto-calculate shipping rate). You will be directed to the Shipment Provider Page that will allow you to turn on which providers you want to use.
Option 1 (Decide shipping rate manually)
1. Click on the "Add now" button and you will be directed to the Shipping Area page.
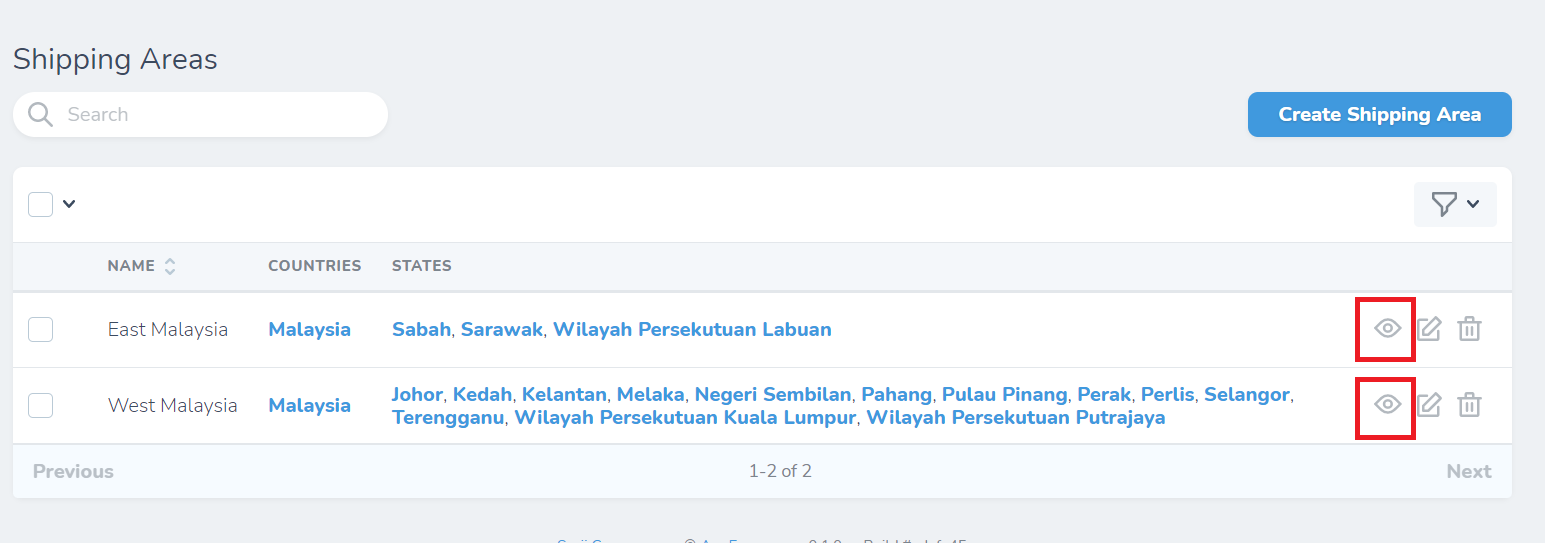
2. You can see there are 2 shipping areas that have been added by default. You may add a different shipping area later. Then, click View to decide the shipping rate for that area.
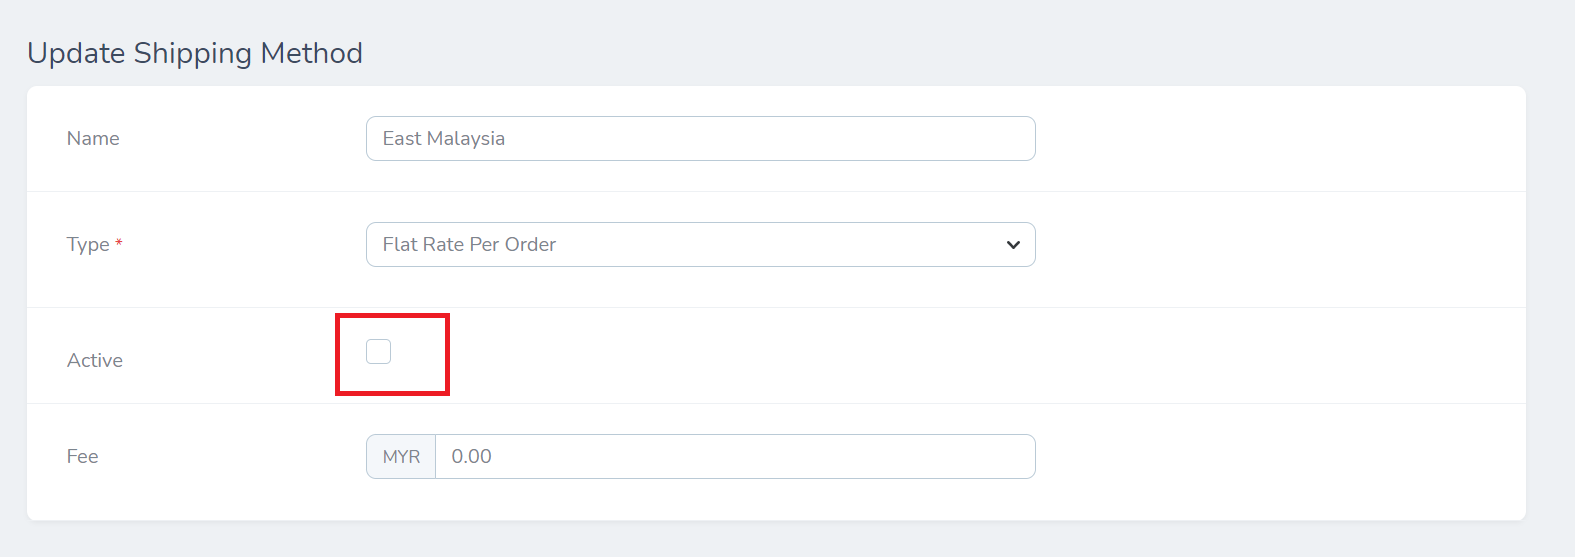
3. After that, you may decide your shipping rate on this page. You can decide on which type you want to use either it be flat rate or based on weight. Then, tick Active to activate the shipping rate.
Option 2 (Enable Integrated Shipment Provider (Auto-calculate shipping rate))
1. Click on the "Add now" button and you will be directed to the Shipment Providers page.

2. You can see there are quite a several shipment providers on this page and you can use any shipment provider that you want by clicking on Actions>Activate/Deactivate. By activating the provider, the shipping rate is auto-enabled based on the shipment provider.

Step 4: Setup store settings
1. Click on the "Add Now" button
 2. On this setting page, fill in all information needed such as Invoice Address, Shipment Origin Address, Email Address To Send As, etc.
3. Then, click "Save Settings" to save all the information.
Step 5: Create your store page
1. For the store page, we already created it for you by default. You may edit the content later.

*Video guidance is at the bottom of the article
VERSI BAHASA MALAYSIA
Langkah 1: Tambah produk pertama anda
Nota: Rujuk bahagian Products untuk maklumat lanjut.
1. Klik pada butang "Add Now"
2. Isi maklumat produk anda seperti nama produk, harga produk, gambar produk, kuantiti dan lain-lain.
3. Setelah selesai mengisi maklumat produk anda, klik pada butang "Create Product" bahagian bawah halaman.
4. Anda sudah berjaya menambah produk pertama anda.
Langkah 2: Tambah kaedah pembayaran
1. Klik pada butang "Add Now"
2. Anda dapat lihat ada 2 kaedah pembayaran yang telah ditambah oleh sistem
3. Tetapkan status kepada "Active". Klik pada ikon Edit > Klik "Active" pada kotak yang disediakan > Simpan perubahan dengan klik pada butang "Update Payment Method"
Langkah 3: Tambah kawasan penghantaran & kaedah penghantaran
Anda diberi dua pilihan untuk menetapkan kadar penghantaran anda sama ada secara manual atau pengiraan kadar penghantaran secara automatik. Jika anda ingin menentukan caj kadar anda sendiri mengikut kawasan penghantaran, pilih pada pilihan pertama iaitu Decide shipping rate manually . Anda akan diarahkan ke halaman Shipping Area dan boleh menentukan kadar penghantaran anda sendiri pada halaman tersebut. Sementara itu, jika anda ingin mendayakan pembekal penghantaran bersepadu untuk pengiraan kadar penghantaran secara automatik pilih pada pilihan 2 iaitu Enable Integrated Shipment Provider (Auto-calculate shipping rate) . Anda akan diarahkan ke halaman Shipment Providers yang akan membolehkan anda menghidupkan penyedia yang ingin anda gunakan.
Pilihan 1 (Decide shipping rate manually)
1. Klik pada butang "Add now" dan anda akan diarahkan ke halaman Shipping Area.
2. Anda boleh lihat terdapat 2 kawasan penghantaran yang telah ditambah secara lalai. Anda boleh menambah kawasan penghantaran lain kemudian. Kemudian, klik View untuk memutuskan kadar penghantaran bagi kawasan itu.
3. Selepas itu, anda boleh menentukan kadar penghantaran anda di halaman ini. Anda boleh membuat keputusan tentang jenis yang anda mahu gunakan sama ada pada kadar rata atau berdasarkan berat. Kemudian, tandakan Active untuk mengaktifkan kadar penghantaran.
Pilihan 2 (Enable Integrated Shipment Provider (Auto-calculate shipping rate))
1. Klik pada butang "Add now" dan anda akan diarahkan ke halaman Shipment Providers.
2. Anda boleh melihat terdapat beberapa pembekal penghantaran di halaman ini dan anda boleh menggunakan mana-mana pembekal penghantaran yang anda inginkan dengan mengklik pada Actions>Activate/Deactivate. Dengan mengaktifkan pembekal, kadar penghantaran didayakan secara automatik berdasarkan pembekal penghantaran.
Langkah 4: Bina tetapan kedai
1. Klik pada butang "Add Now"
2. Pada halaman ini, isi semua maklumat yang diperlukan seperti Alamat Invoice, Alamat Asal Pengiriman, Alamat E-mel Sebagai Penghantar dan lain-lain.
3. Selepas itu, klik "Save Settings" untuk menyimpan semua maklumat yang diisi.
Langkah 5: Bina halaman kedai anda
1. Untuk halaman kedai, sistem sudah membuatnya secara sedia ada. Anda boleh edit kandungannya kemudian.
Video Guide Reference:
Rujukan Panduan Video:
Was this article helpful?
That’s Great!
Thank you for your feedback
Sorry! We couldn't be helpful
Thank you for your feedback
Feedback sent
We appreciate your effort and will try to fix the article